

Welcome. This guide walks you through the first five minutes of using Rook Ready — from signup to a configured club that’s ready to take on members.
Before you start
You need three things:
- An email address you can check right now (for the verification link).
- A name for your club. You can change it later, so don’t agonize.
- About five minutes.
That’s it. No credit card. No software to install. Rook Ready runs in your browser.
Create your account
Head to app.rookready.com/signup. Signup is two short steps — first you name your club, then you create your account. Both happen on the same screen; nothing to download, nothing to verify out-of-band.
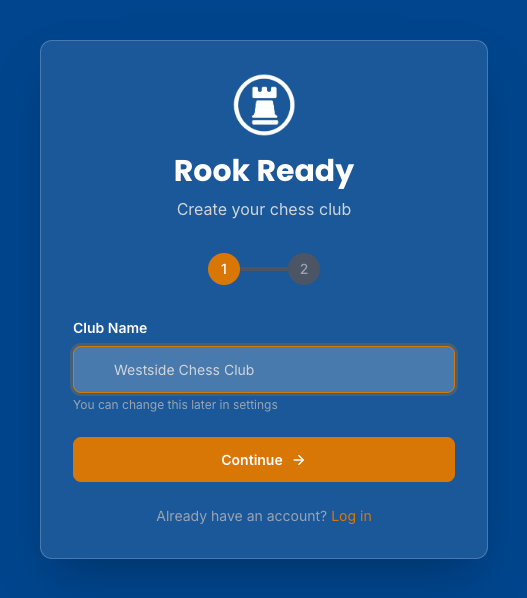
Submit step two and you’re straight in — no waiting on an email, no click-to-continue. Your club exists and you’re looking at its dashboard.
Two emails follow you into the inbox you signed up with: a short welcome, and a verification link. Click the verification link when you get a moment. It’s not a gate on exploring — you can add members, build an event, and look around without it — but it is the gate on sending, because it’s what proves the address inviting your club is really yours. Until you’ve clicked it, Rook Ready won’t email an invitation or let an announcement go out, and a banner across the top says so. Nothing is lost while you wait: add the member now, click the link, and send them their invitation after. The link is good for 72 hours, and the banner has a Resend email button if it expires or goes astray.
Your club is created
You’re now looking at your club’s dashboard. A “Get started” checklist sits at the top with the first step — Create your club — already ticked off, plus three more next steps: add your first member, create your first event, and customize your club profile. You can knock them out now or come back to them later.
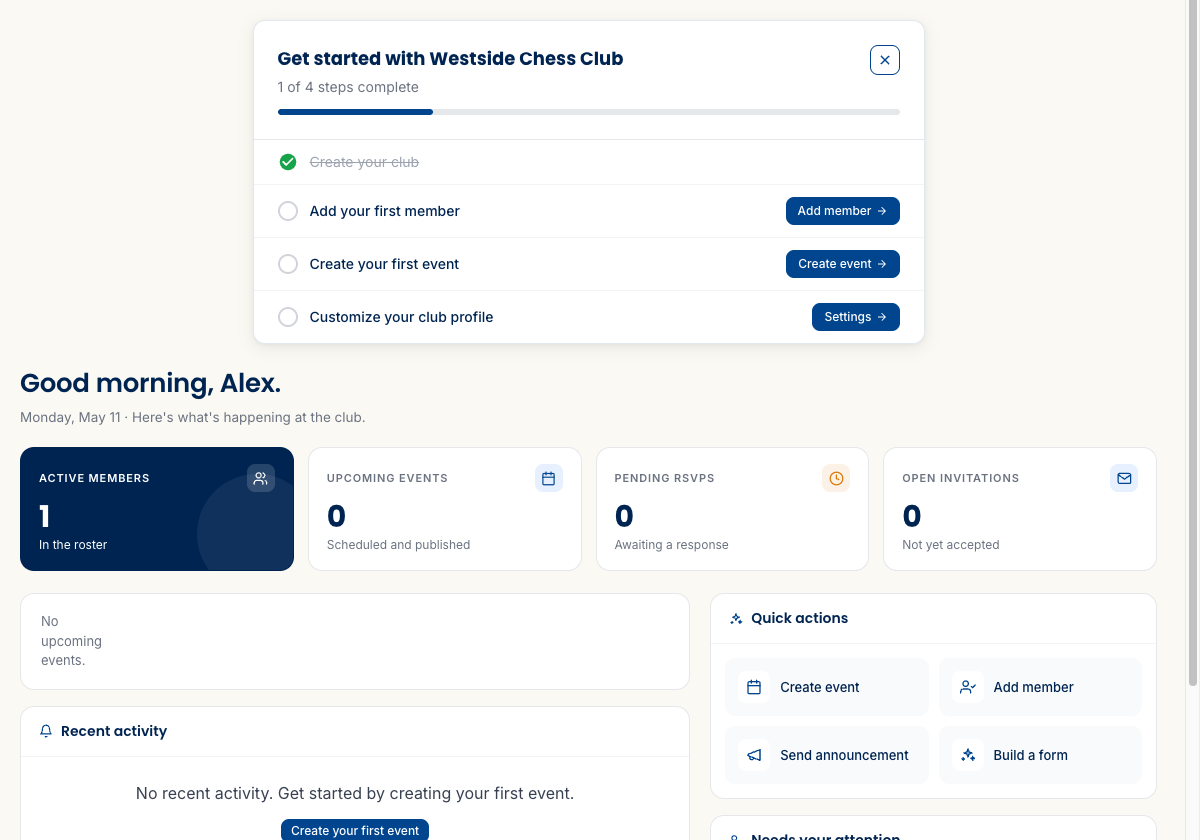
The dashboard’s stat cards (Active members, Upcoming events, Pending RSVPs, Open invitations) will fill in as your club gets going. Quick actions on the right is the launchpad for the most common admin tasks — creating events, adding members, sending announcements.
Set your terminology
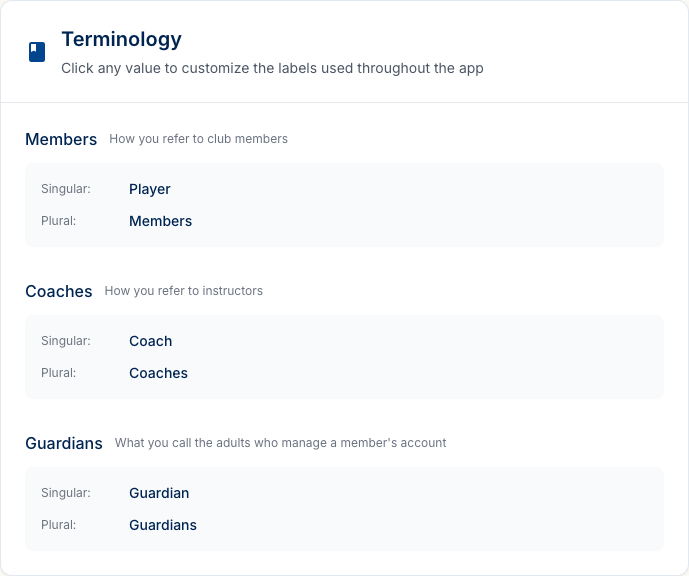
Rook Ready was built for chess clubs, but the language can match your club’s voice. The defaults are Member and Coach, plus a Guardian role for the parent or caregiver of a member.
If you’d rather say Player, Caregiver, or anything else, change it once and the whole app updates everywhere those words appear. To get there: click any Settings link in the left sidebar (General works), then choose Terminology from the settings sub-navigation.
Add your logo and contact info
Last setup step: open Settings → General. This is where your club’s name, contact email, location, website, and timezone live, plus the logo upload (further down the page). These show up in welcome emails, on the registration form if you publish one, and on your club’s profile page.
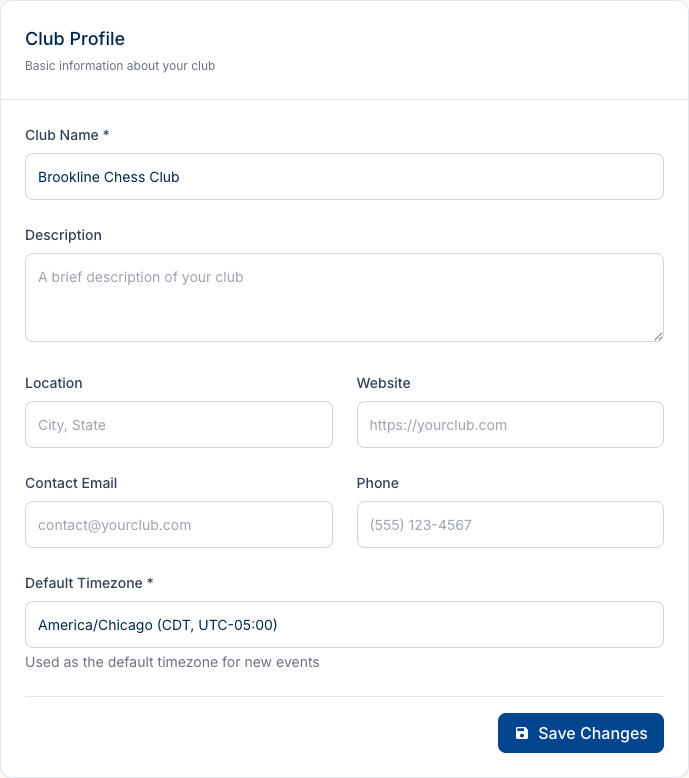
The logo is optional — Rook Ready falls back to a clean default — but uploading one makes the experience feel like yours.
What’s next
You’re set up. The next things you’ll likely want to do, in roughly the order most clubs follow:
- Add your members — manual entry, CSV import, or invitations.
- Create your first event — practices, tournaments, lessons.
- Record attendance — track who showed up using the four-state workflow.
- Point your members at the app — it’s free, it’s coming to both stores, and it’s where most of your club will actually read what you send. Until it lands, app.rookready.com works in a phone browser with the same account.
- Run a rated tournament — on the Rook plan, spin up a full event with sections, pairings, and online registration.
Any of those work as your next stop. If you get stuck, the FAQ has answers to the most common questions, and you can always email support@rookready.com.
Running a specific kind of club? We have tuned overviews for scholastic chess programs, parent-of-player visibility, and the general what-it-does page.
Updated May 11, 2026